
Fogged-up windows can be a real nuisance, especially during those chilly, damp mornings. They decrese visibility, increase risks of accidents and make you waste valuable time before you can set off. In a word, This phenomenon, caused by condensation, is not only a nuisance but also dangerous.
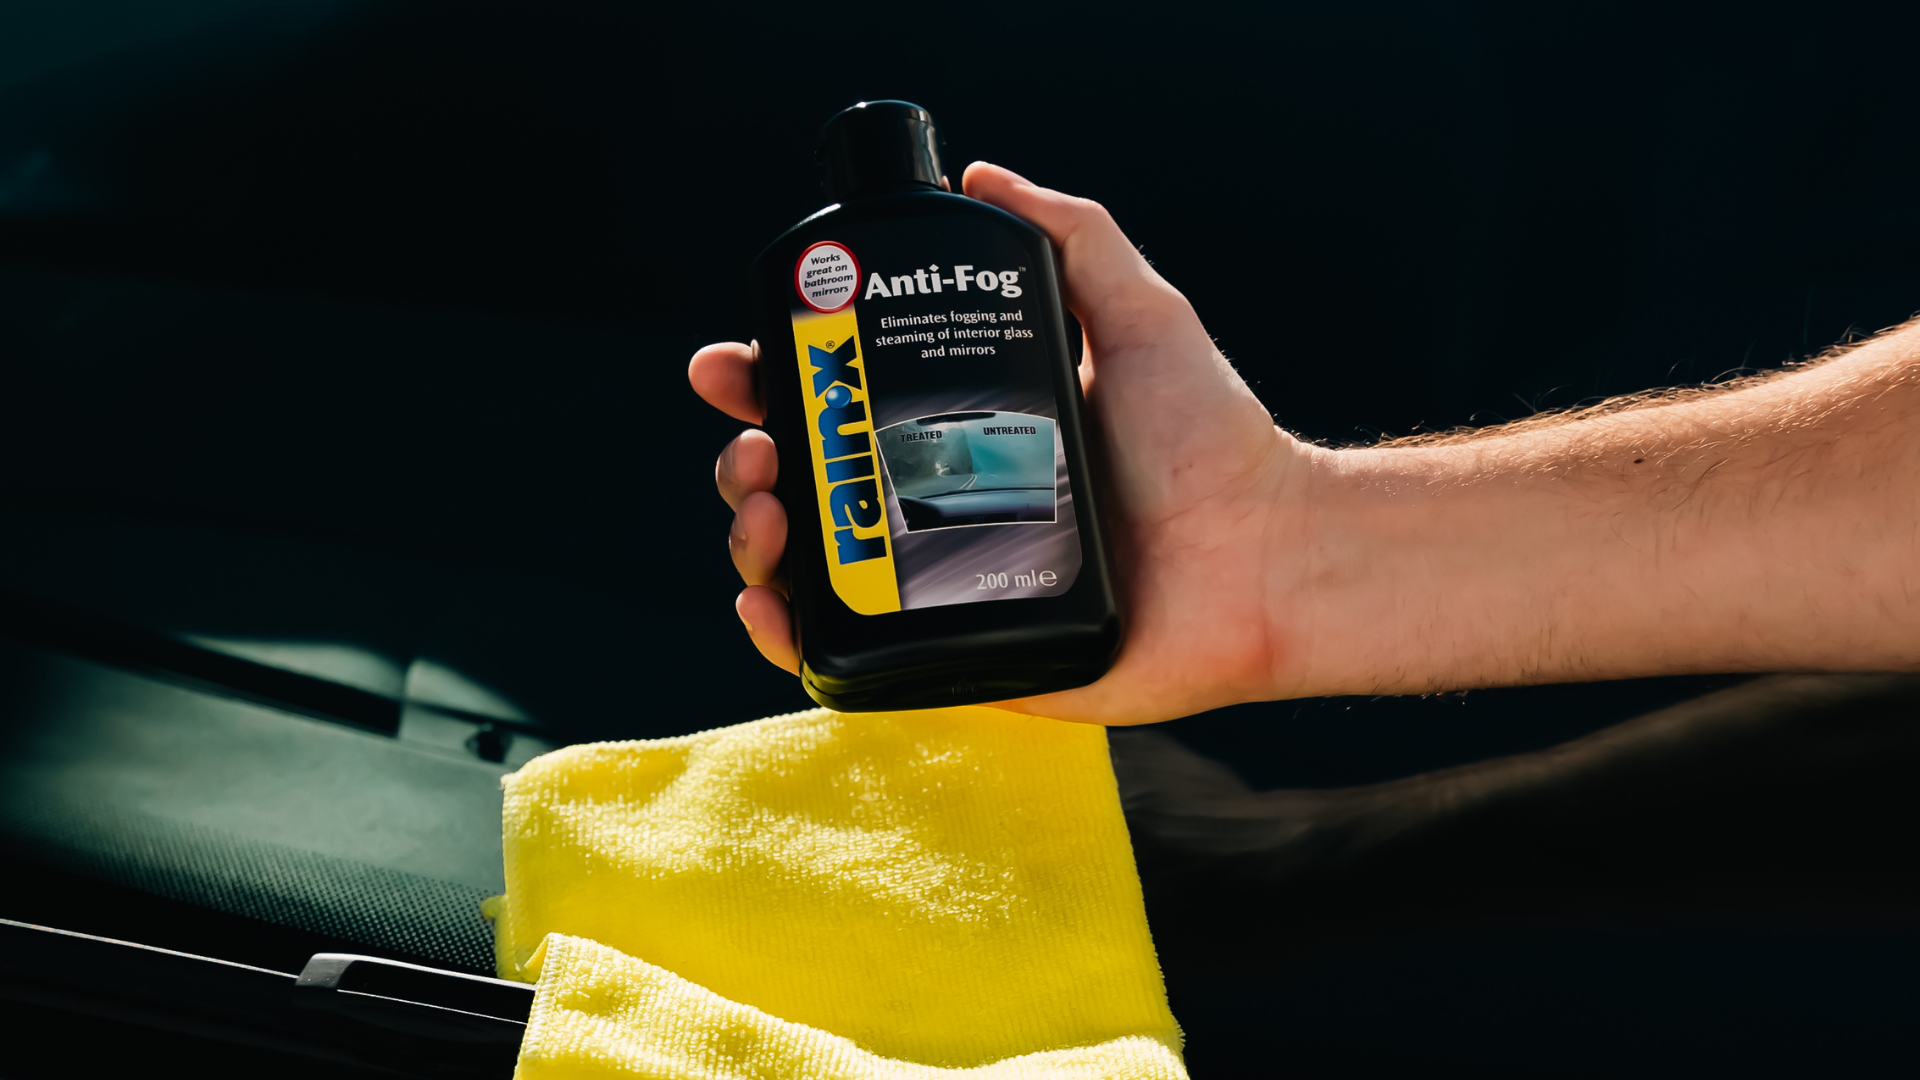
Fortunately, Rain-X Anti-Fog is designed to tackle this problem, ensuring your windows remain crystal clear. This easy-to-apply product helps eliminate fogging on interior glass surfaces, enhancing visibility and safety while driving.
In this guide, we’ll walk you through how to apply Rain-X Anti-Fog for the best results. Be sure to watch the demonstration video here for a clear visual on how to use the product effectively.
Why Choose Rain-X Anti-Fog?

Before diving into the application process, let’s explore the advantages of using Rain-X Anti-Fog:
- 😶🌫️Prevents interior fogging: It stops fog build-up on interior glass and mirrors, ensuring clear vision even in humid conditions.
- ⏱️Long-lasting effect: The product provides durable protection, meaning fewer reapplications are needed.
- ⚡Quick and easy: A hassle-free solution that delivers immediate results.
Ready to apply? Let’s get started!
Step-by-Step Guide on How to Apply Rain-X Anti-Fog
Follow these steps to effectively apply Rain-X Anti-Fog to your car windows and interior glass. This guide will help you understand how to remove fog in a car and ensure a fog-free driving experience.
1. Clean the Surface
Before applying Rain-X Anti-Fog, ensure the surface is clean and free from dirt, dust, or residue. Use a quality glass cleaner to wipe down the interior glass and mirrors.
Pro tip: Cleaning the surface first ensures the Anti-Fog formula adheres properly, maximising its effectiveness.
2. Apply Rain-X Anti-Fog
Shake the bottle of Rain-X Anti-Fog well before use. Then, take a dry, soft cloth and apply a small amount of the product to the cloth.
Using a circular motion, apply the Anti-Fog solution to the interior side of the glass, ensuring even coverage across the surface. Make sure to focus on areas prone to fogging, such as the windshield, side windows and mirrors.
Pro tip: A little goes a long way. Avoid over-application to prevent any streaks.
3. Buff the Surface
After applying the Anti-Fog solution, allow it to dry for a few minutes. Once dry, take another clean cloth and gently buff the surface in a circular motion to remove any haze or residue.
Pro tip: For larger surfaces like the windshield, work in small sections to ensure you cover the entire area evenly.
4. Test for Fogging
After buffing, test the surface by breathing on it or exposing it to a humid environment. If applied correctly, the glass should remain clear without fogging.
5. Reapply as Needed
While Rain-X Anti-Fog offers long-lasting protection, it’s a good idea to reapply every few weeks, especially in colder or more humid conditions. Regular reapplication ensures continuous fog-free visibility.
Where Can You Use Rain-X Anti-Fog?
Rain-X Anti-Fog is ideal for various interior glass surfaces, making it versatile for multiple applications:
- Car windshields and side windows
- Rearview and side mirrors
- Bathroom mirrors
Frequently Asked Questions (FAQs)

Q: Can I use Rain-X Anti-Fog on tinted windows?
A: No, this product needs to be used on clear glass that is free of anything else, such as tints.
Q: How often should I apply Rain-X Anti-Fog?
A: Reapply the Anti-Fog formula every few weeks or when you notice fogging starting to occur again.
Q: Can I use Rain-X Anti-Fog on plastic surfaces?
A: No, this product should not be used on acrylic, plastic, motorbike helmets or motorbike windshields.
By following this guide, you’ll know how to apply Rain-X Anti-Fog to ensure clear, fog-free visibility in your vehicle. Whether you’re battling fogged-up windscreens or mirrors, Rain-X Anti-Fog is the perfect solution to keep your view clear.
Come rain, snow or wind, Rain-X has the solution for you. 😉